Creating a Simple Spring Boot and Vue.js Project
Published
Updated
Introduction
Spring Boot allows Java developers to rapidly assemble sophisticated RESTful web services, it normalizes access to a myriad of different SQL or NoSQL databases and provides all the necessary controls to secure a web application.
Many developers don’t want to utilize older solutions such as JSP, nor do they want to commit to the complexity of a fully-fledged front-end framework such as React or Angular. Vue.js provides for a fantastically modern shift in terms of how a reactive Javascript framework can be adopted and integrated into your Java application.
In this article, I’ll cover the steps needed to create a simple hello world web application using Spring Boot 2.4 and Vue.JS 2.
Prerequisites
You will need the following:
- An IDE of your choice (Idea IntelliJ or Eclipse are preferred)
- Java Development Kit (JDK) and Java Runtime of Java 8 or greater (Open JDK is preferred)
- Maven installation
Getting Started
In your Maven project’s pom.xml file, the following is how to define the dependencies:
<?xml version="1.0" encoding="UTF-8"?>
<project xmlns="http://maven.apache.org/POM/4.0.0" xmlns:xsi="http://www.w3.org/2001/XMLSchema-instance"
    xsi:schemaLocation="http://maven.apache.org/POM/4.0.0 https://maven.apache.org/xsd/maven-4.0.0.xsd">
    <modelVersion>4.0.0</modelVersion>
    <groupId>com.codetinkering</groupId>
    <artifactId>SpringBootVueJS</artifactId>
    <version>0.0.1-SNAPSHOT</version>
    <name>SpringBootVueJS</name>
    <description>Demo project for Spring Boot</description>

    <parent>
        <groupId>org.springframework.boot</groupId>
        <artifactId>spring-boot-starter-parent</artifactId>
        <version>2.4.1</version>
        <relativePath/>
    </parent>

    <properties>
        <java.version>1.8</java.version>
    </properties>

    <dependencies>
        <dependency>
            <groupId>org.springframework.boot</groupId>
            <artifactId>spring-boot-starter-web</artifactId>
        </dependency>
        <dependency>
            <groupId>org.springframework.boot</groupId>
            <artifactId>spring-boot-starter-thymeleaf</artifactId>
        </dependency>
    </dependencies>

    <build>
        <plugins>
            <plugin>
                <groupId>org.springframework.boot</groupId>
                <artifactId>spring-boot-maven-plugin</artifactId>
            </plugin>
        </plugins>
    </build>

</project>
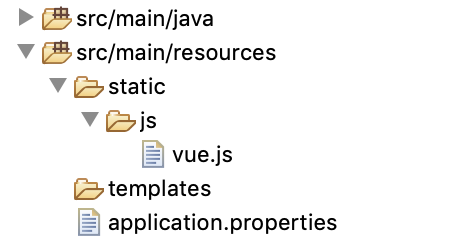
Within your src/main/resources/static folder, create a js folder and drop in your vue.js script files. These vue files can be found at the following:
- Developer version with traces and info included https://vuejs.org/js/vue.js
- Minified version for production purposes https://vuejs.org/js/vue.min.js
Please refer to the following image to confirm your project structure is the same:
Vue Application Code
Create an empty app.js file in your js folder and add the following code:
var app = new Vue({
  el: '#app',
  data: {
    message: 'Hello world from Vue and Spring!'
  }
})
This code initializes a new instance of Vue and defines a variable within Vue called message. By updating this variable within your application code, your application’s webpage DOM will reactively be updated.
The reference to #app is the ID of the div in which we want Vue to bind to and make reactive. It is possible to also bind to a body tag or even the html tag.
Vue Web Template
In your templates folder, create an empty index.html file and add the following code:
<!doctype html>
<html xmlns="http://www.w3.org/1999/xhtml" xmlns:th="http://thymeleaf.org">
  <head>
    <title>Hello world example from CodeTinkering.com</title>
  </head>
  <body>

  <!-- This div is where all of the Vue magic will happen! -->
    <div id="app">
      {{ message }}
    </div>

    <script th:src="@{/js/vue.js}"></script>
    <script th:src="@{/js/app.js}"></script>
  </body>
</html>
Note the {{}} mustache style brackets in the above code. These symbolics inform Vue that this is a variable in which you want to reactively update within the page.
This template is using Thymeleaf to automatically derive the correct context paths of your static resources vue.js and app.js.
Spring Configuration
Add the following properties to your application.properties file:
# Defines your application's context path when it is run in the application server
server.servlet.contextPath=/example

# Configures Spring Boot to add various mappings for your static files
spring.resources.add-mappings=true
Define your Spring Boot main class:
package com.codetinkering.example;

import org.springframework.boot.SpringApplication;
import org.springframework.boot.autoconfigure.SpringBootApplication;
import org.springframework.boot.builder.SpringApplicationBuilder;
import org.springframework.boot.web.servlet.support.SpringBootServletInitializer;

@SpringBootApplication
public class ExampleApplication extends SpringBootServletInitializer {

    public static void main(String[] args) {
        SpringApplication.run(ExampleApplication.class, args);
    }

    @Override
    protected SpringApplicationBuilder configure(SpringApplicationBuilder builder) {
        return builder.sources(ExampleApplication.class);
    }

}
Your final project structure should look like this:
Running your application
Start your application by running the Spring Boot main class via your IDE or execute it via Maven via the following:
mvn spring-boot:run
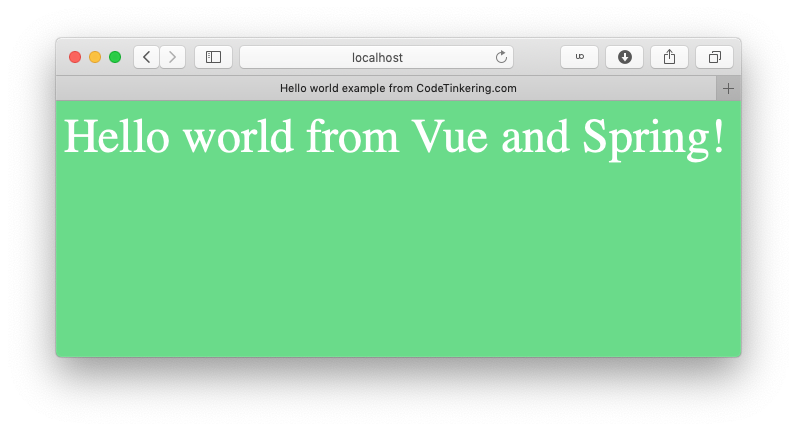
Your application should be accessible at http://localhost:8080/example/
Upon accessing your application, you will see a hello world message (which is reactively rendered to the screen):
Checkout this project from Github
git clone https://github.com/code-tinkering/SpringBootVueJSDownload Zip